Booting uConsole from NVMe
Background story
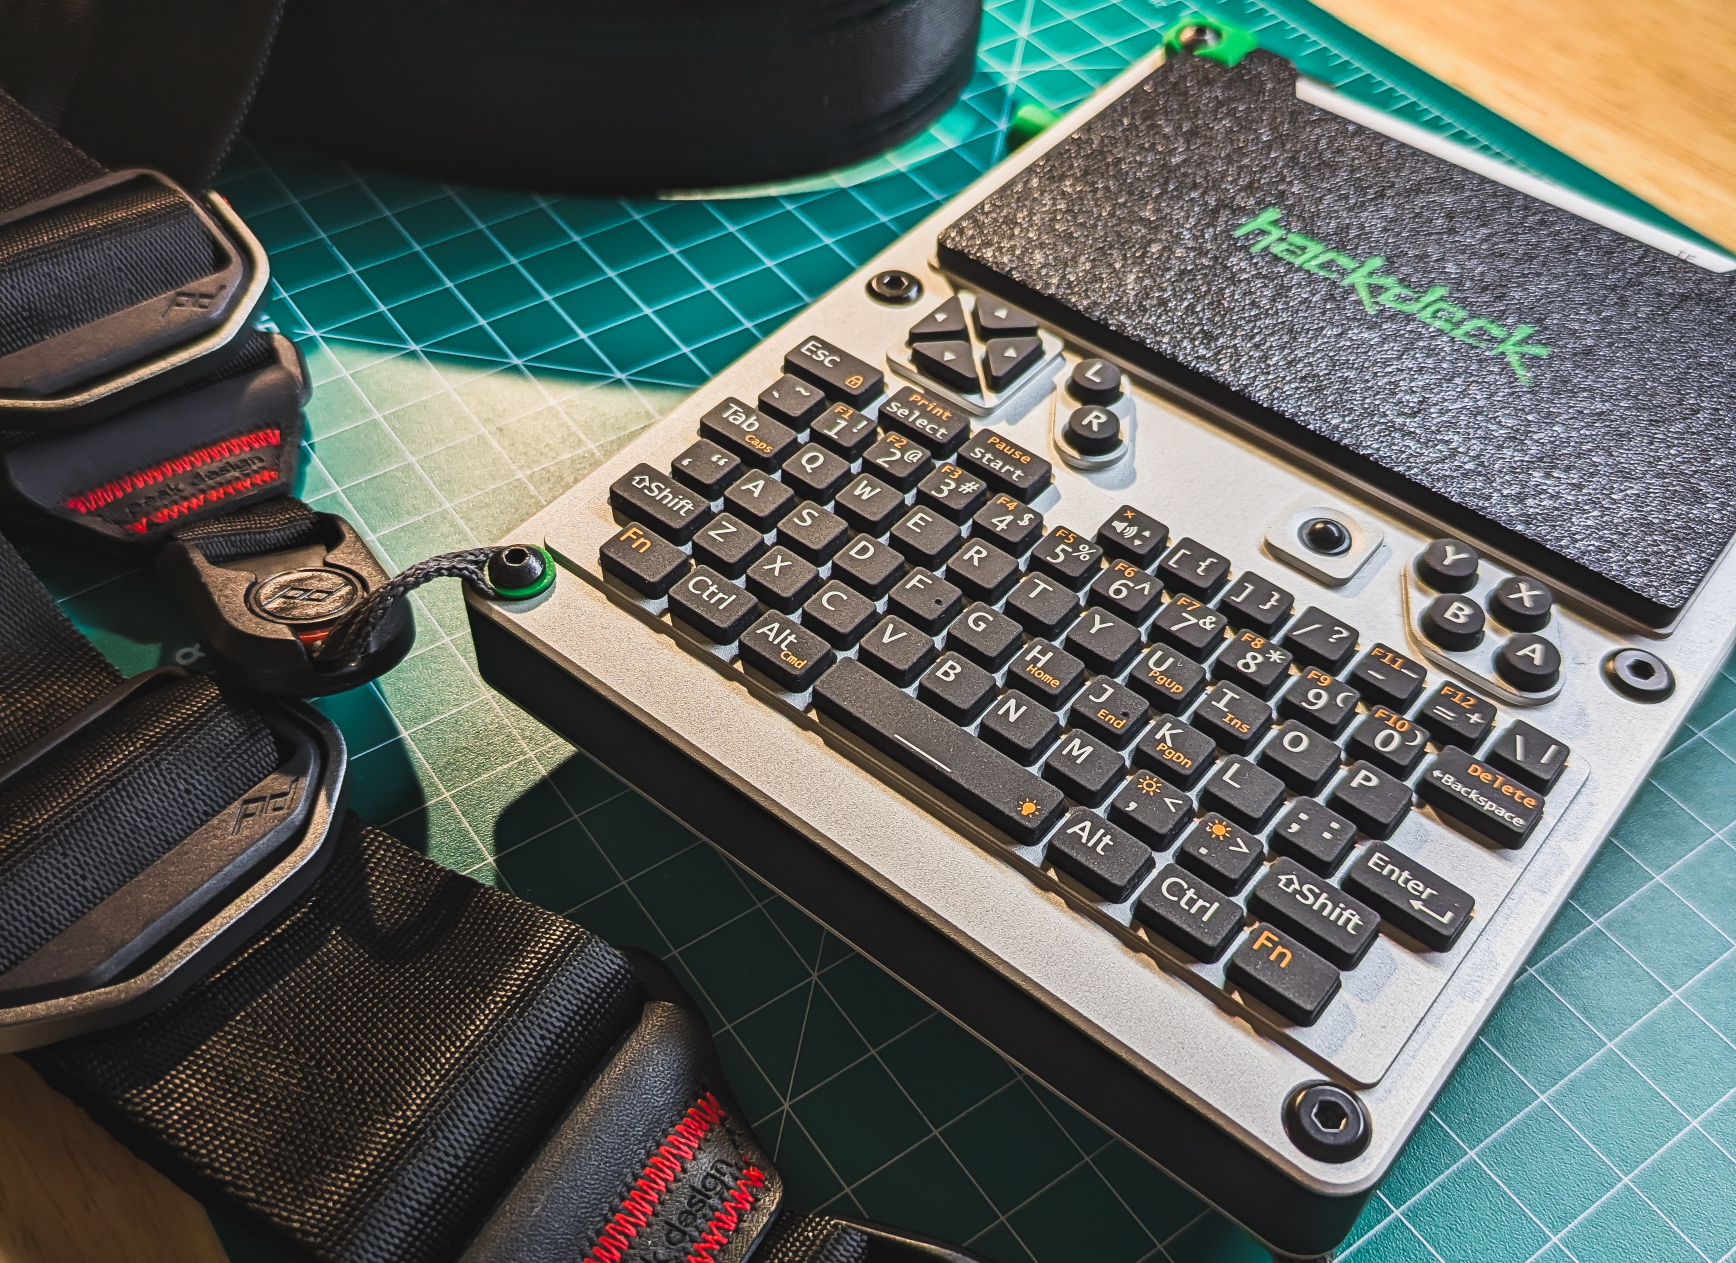
If you read my blog post about the hackdeck, you know that I run a uConsole with an NVMe expansion, which I use to boot and run the OS. It makes the uConsole run much faster when it comes to I/O. It is especially noticeable if you're like me and refuse to go for a CM5 setup, preferring to stick with the CM4 (I tested it, but that's a story for another blog post).
I received some questions about exactly how I configure things with the NVMe. Well, I use the NVMe for the main OS (which is Kali, of course), and whenever I want to run another OS (which is also another Kali image, of course, but it could be something else), I just insert the microSD card containing it, and the system boots from that microSD. There are no conflicts or confusion between the two. Let's discuss how to set it up.
Set up
You can think of it as a four stage process:
- physically install and enable NVMe
- flash your image to the NVMe
- give your NVMe different IDs (
PARTUUIDandUUID) - update
cmdline.txtandfstabwith the newrootfsandbootconfiguration
Install and enable the NVMe SSD
Obviously, you need to get the drive visible in your system, it should appear as something like /dev/nvme0n1. First, make sure you are using an M.2 NVMe (M key) and that the ribbon is correctly oriented. I checked mine at least a few times and still got it wrong, I had it flipped the other way around.
Then, verify that the NVMe is present. Boot from the microSD, as you normally would, and check that you can see the NVMe drive:
sudo lsblk -f
In my case, I got nvme0n1 along with its partitions. If you see the drive, perfect. If you do not, it means you need to enable PCIe in the boot config.
Your boot config file should be at /boot/config.txt. If, for some reason, it does not exist, you probably need to mount the boot partition:
sudo mkdir -p /mnt/boot_sd
sudo mount /dev/mmcblk0p1 /mnt/book_sd
sudo vim /mnt/book_sd/config.txt
Under [pi4] section (or [pi5]/[all]) change the line:
dtparam=pciex1
to:
dtparam=pciex1=on
The whole section in my case looks like this (I have the HackerGadgets AIOv2, so I enabled the real time clock too):
[pi4]
# Enable the Real-Time Clock
dtoverlay=i2c-rtc,pcf85063a

# Enable uConsole specific hardware (screen, keyboard, trackball)
dtoverlay=clockworkpi-uconsole

# Video driver setup
dtoverlay=vc4-kms-v3d-pi4,cma-384

# Enable SPI and UART
dtparam=spi=on
enable_uart=1

# Enable the PCIe bus to activate the NVMe controller
dtparam=pciex1=on
Save the file, sync, umount and reboot:
sudo sync
sudo umount /mnt/boot_sd
sudo reboot
After reboot, confirm that you can see the NVMe by running again:
sudo lsblk -f
Flash the NVMe
For this, you need to have the image you want to flash on the system you are running these commands from. You flash the image to the NVMe drive as you normally would on Linux:
sudo dd if=</path/to/your-image.img> of=/dev/nvme0n1 bs=4M status=progress conv=fsync
sudo sync
Once that done, you no longer need the microSD card, so shut down and remove the card.
Change NVMe's IDs
I have a single Kali image that I flash onto multiple cards, as well as the NVMe I boot from. This means that whenever I flash the image, the partitions that are created will have the same UUID and PARTUUID. This is not an issue in principle if you only boot from the NVMe. However, if you try to boot from a microSD with the same image, things will get confused. For instance, the system may boot from the NVMe, but the rootfs will be mounted from the microSD card.
So, start your uConsole. It should boot from the NVMe now, but make sure the microSD card is not inserted. Once it is running, check the current values for your NVMe partitions:
sudo lsblk -f
sudo blkid
To change the PARTUUID, use fdisk;
sudo fdisk /dev/mmcblk0
In fdisk:
x - expert mode
i - change the ID, and enter the new ID:
0x1234fedc # give it whatever value you want
r - return to main menu
p - print the partition
w - write and exit
Confirm the new values:
sudo lsblk -f
sudo blkid
Next, change the UUID. I used mtools. If you do not have it by default, just apt get it, or use another method. You first need to update mtools.conf and assign a new UUID to your nvme0n1p1:
sudo apt install mtools
echo 'drive n: file="/dev/nvme0n1p1" exclusive' | sudo tee -a /etc/mtools.conf
sudo mlabel -N BEEF1337 -i /dev/nvme0n1p1 ::
sudo blkid # verify new UUID
The point of this is to have both the UUID and PARTUUID on the NVMe installation differ from those on the microSD card. This is useful if you flash the same image to both the card and the NVMe.
Update config on NVMe installation
The last thing to do is update the config on your new NVMe installation. First, change the config in /etc/fstab to use the new UUID:
#LABEL=BOOT /boot vfat defaults 0 2
UUID=BEEF-1337 /boot vfat defaults 0 2
Then, mount the NVMe boot partition locally and update cmdline.txt with the new PARTUUID:
sudo mount /dev/nvme0n1p1 /mnt/boot_nvme
sudo vim /mnt/boot_nvme/cmdline.txt

# update the root=PARTUUID=1234fedc-02
After that, run sync, umount, and reboot:
sudo sync
sudo umount /mnt/boot_nvme
reboot
That's it.