The Ultimate Handheld Hacking Device - My Experience with NetHunter

Gimme that Cyberdeck!
I've noticed an increased presence of something called a Handheld Cyberdeck lately, like the ones listed below.
Pilet: Opensource, Modular, Portable Mini Computer
There's a swarm of them on social media, with almost everyone who manages to get their hands on one posting about it over and over again. Honestly, I love those posts—I really do. I also love those devices. To be honest, I’m a little jealous of the people who own them. A Raspberry Pi-based device running Kali Linux, designed to look like a BlackBerry, complete with a screen, keyboard, and battery? It’s impossible not to fall in love with those things.
No?
Now, if you’re one of those people who owns such a device, well, good for you. You were either lucky enough to buy it while it was still available, patient enough to wait 90 days for delivery, or resourceful enough to take an open-source project and build it yourself. I don’t fit into any of those categories.
I’m always late to the party with new gadgets. I’d never buy a device that requires waiting three weeks for delivery, let alone three months. As for building one myself—buying separate components, putting everything together, and hoping it works? 3D printing a case and praying everything fits? It all sounds great in theory, but that’s way too much effort for my taste. I want to use the device, not build it.
To be fair, the main reason I didn’t attempt to build one is that I knew it would take a lot of time to finish, and I just don’t have the interest or patience to see it through. That’s how I feel today, at the time of writing this article. I’m sure I’ll change my mind at some point—I always do.
OK, never mind then...
So, what were my options? Did I have any at all? Well, yes—just one: Kali NetHunter.
You’re probably thinking, “Didn’t he just say he doesn’t want to invest a ton of time making things work and prefers a ready-to-use device instead?” And yes, I did. But I also mentioned that my reluctance comes from a lack of interest in building a device. Setting things up on an Android device, however, is a completely different story. In fact, I’ve always wanted to explore Android at a deeper technical level but never had a compelling reason to start. A small project that lets me get my hands dirty while diving into the Android ecosystem seemed like the perfect opportunity. The idea of having NetHunter gave me the motivation to jump in, and setting it up on an Android phone sounds like a challenging—but exciting—project.
Kali NetHunter
For those unfamiliar, Kali NetHunter is a version of Kali Linux that you can set up on your phone. There are several types of NetHunter setups, each determining the capabilities of your device. Here’s an overview:
-
NetHunter Pro
This version is installed on a bare-metal phone and supports all hardware and peripherals (external Wi-Fi adapters, Bluetooth adapters, HID tools, etc.). The downside? It’s only available for a limited number of devices, and ordering one often means waiting weeks for delivery (and you already know how I feel about that). -
NetHunter Rootless
Designed for unrooted, unmodified devices. It’s essentially Kali Linux, but with notable limitations like no support for Wi-Fi injection or HID attacks. -
NetHunter Lite
This version works on rooted devices but doesn’t use a custom kernel. As a result, it shares the same major limitations as the Rootless edition, since the default kernel won’t support external devices. -
NetHunter
The full NetHunter experience, available for rooted devices with custom kernels (for supported devices only). This setup enables advanced capabilities like Wi-Fi injection and HID attacks.
Ok, go!
I decided to go for the full NetHunter version. I knew it would be a hassle to set up, but I definitely wanted the advanced capabilities like Wi-Fi injection and HID attacks.
Setting Things Up
Scrolling through the list of phones that support NetHunter, I decided to go with the OnePlus 7T. Why? Because there was a used one available on Amazon for just $100 with next-day delivery. Could I have gotten something better? Sure, there were used Nexus 5/6 phones, but none offered next-day delivery (and you already know how I feel about that).
The phone arrived in great condition—everything worked well. The Android version wasn’t as advertised (I was expecting Android 11, as required by the NetHunter installation package, but got Android 12 instead), though that shouldn’t be an issue. I found a tutorial online that explained the installation process, so I was ready to dive in. Of course, as is often the case with random online resources, most of the instructions didn’t work. Still, it gave me a general sense of what needed to be done, so I pieced things together from other guides and created a step-by-step plan.
For the OnePlus 7T running Android 12, here’s what the process looks like:
- Download the official firmware with Android 11 (and keep it handy in case you need to revert to the original state).
- Unlock the bootloader.
- Downgrade to Android 11.
- Root your phone.
- Install NetHunter with the OnePlus 7T custom kernel using Magisk.
Simple, right? Steps 1 through 3 are described in detail in my other post. Regarding Step 4, I’m unclear about the legal implications, so I’ll refrain from providing detailed instructions for now. For Step 5, I initially thought the official NetHunter documentation would be my best guide—or so I thought.
Can I use it now, please?
After a couple of weeks of effort (which mostly involved cursing, banging my head on the desk, and testing the patience of the Kali NetHunter Discord community), I finally got it to work.
I now have a fully functional Kali setup on my phone. Wi-Fi attacks? Check. HID injections? You bet. SDR? Absolutely. Bluetooth attacks? Why even ask—of course!
To celebrate this milestone, I recorded a few videos to showcase what I can now do with my $100 OnePlus 7T running NetHunter. Enjoy!
Wi-Fu
HID Attacks
Bluetooth
SDR
My Setup
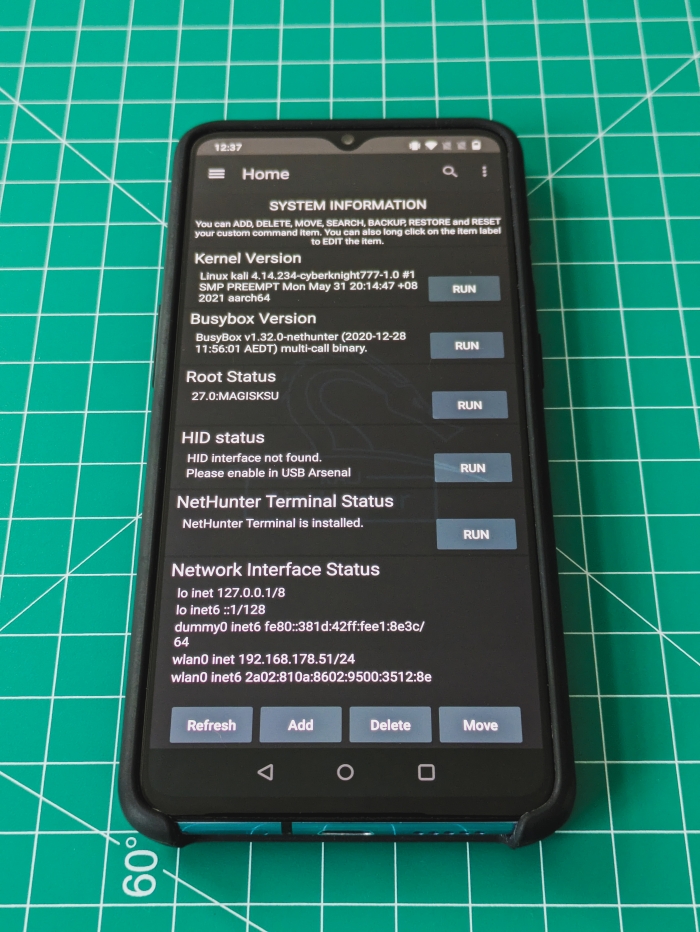
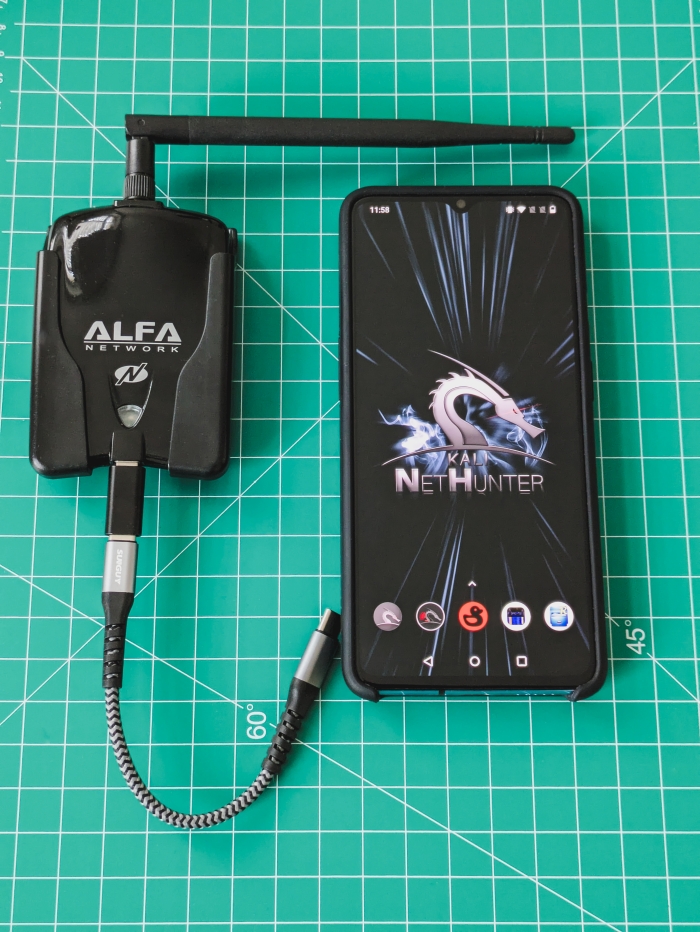
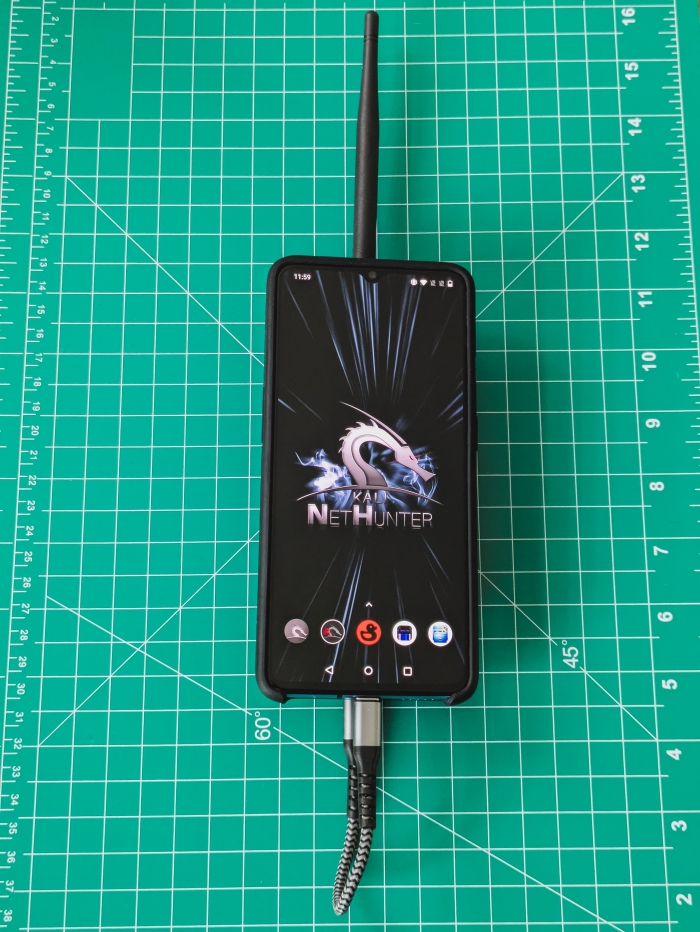
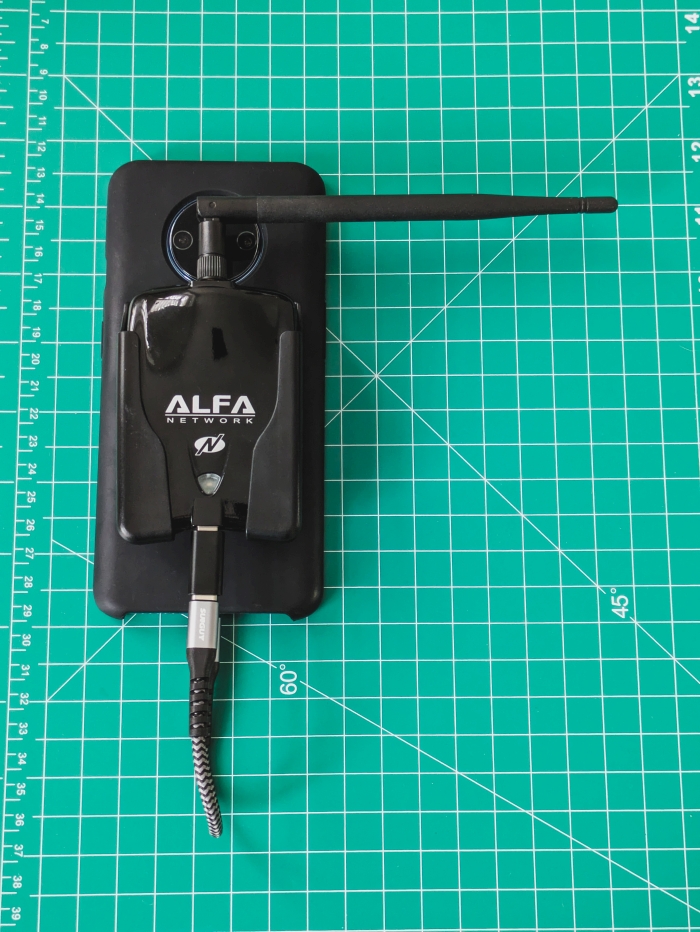
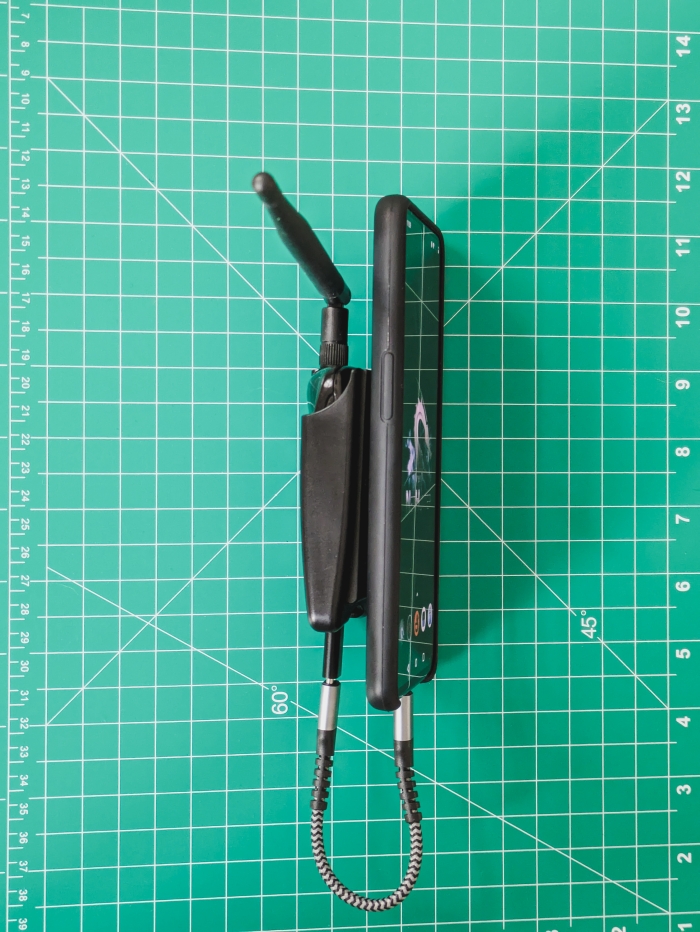
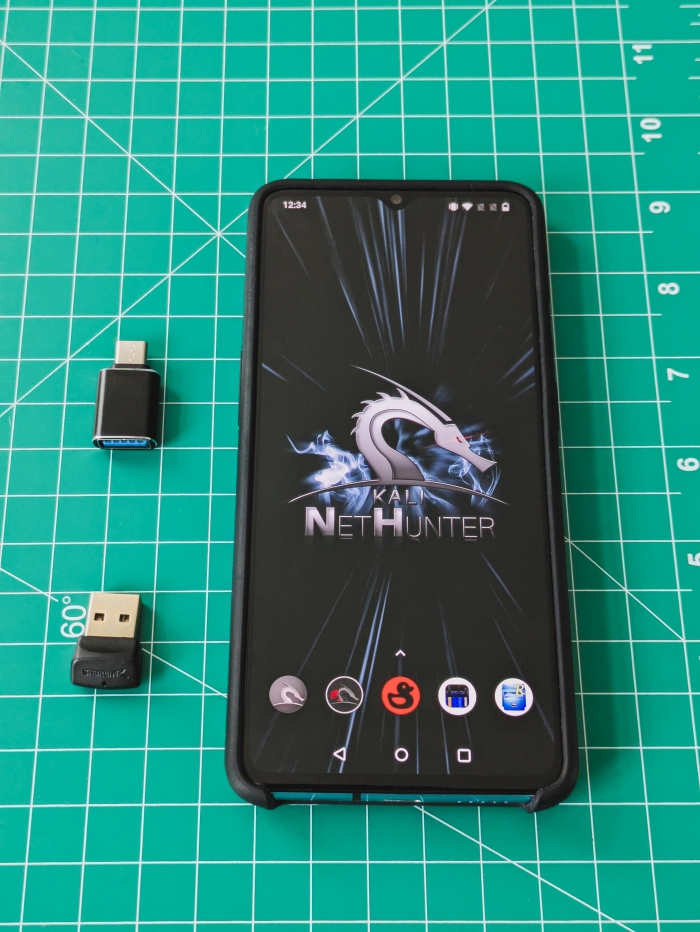
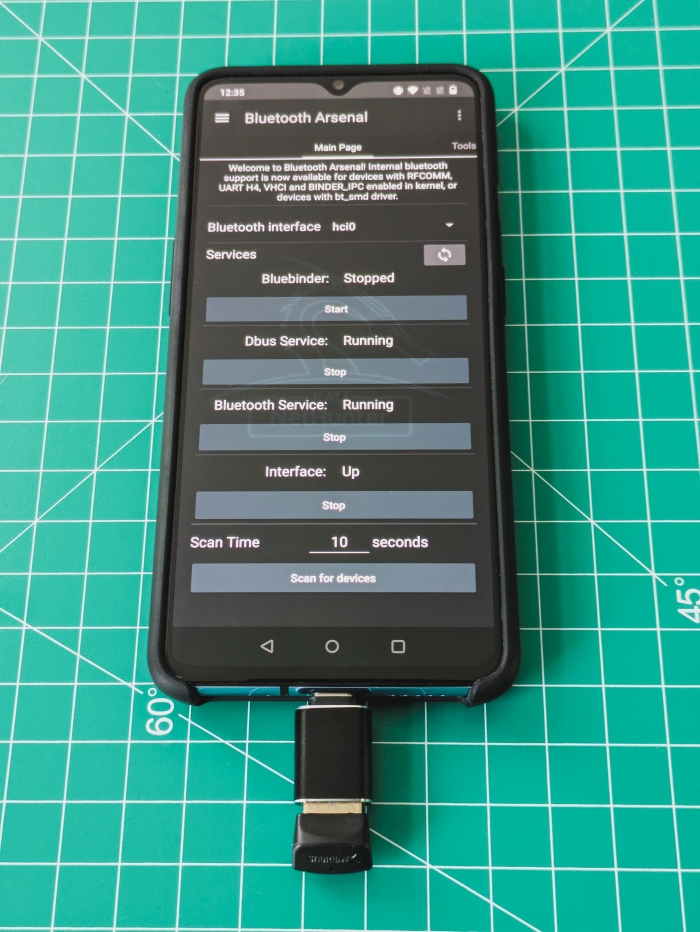
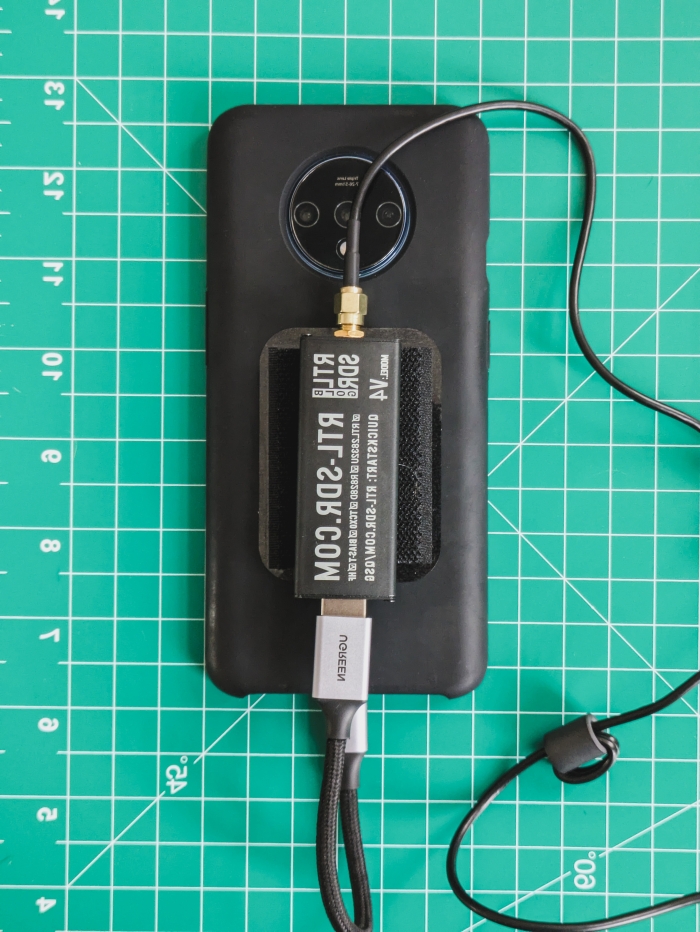
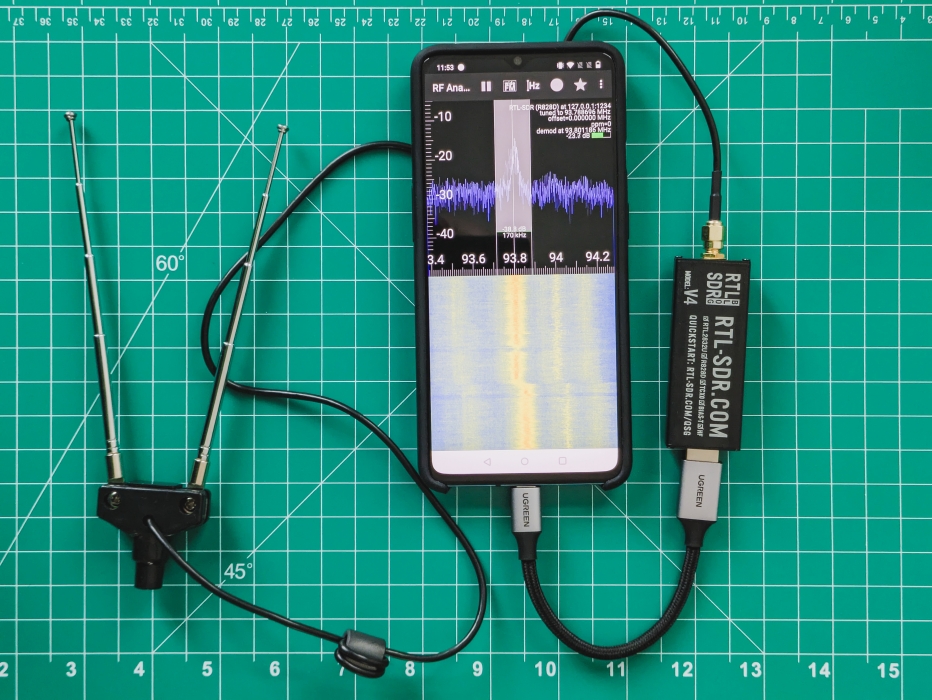
Curious about how my handheld hacking device looks? Here are some pictures of the entire setup, including all the peripherals.
NetHunter
Alfa Network USB Adapter (AWUS036NHA)
SABRENT USB Bluetooth 4.0 Mikro Adapter (BT-UB40)
RTL-SDR Blog V4 R828D (RTL2832U)
Troubleshooting
Documentation
Unfortunately, as of the time of writing, the official NetHunter documentation for the OnePlus 7T is outdated.
NetHunter
The first issue I encountered was an inability to flash NetHunter using Magisk—it kept stopping halfway through. As it turns out, the latest version isn’t always the best. At the time of writing, the latest version of Magisk is v28, which unfortunately doesn’t work. I had to downgrade to v27, and after that, the installation went smoothly—or at least almost smoothly (see the next issue).
NetHunter/WiFi
For a few days, NetHunter wasn’t detecting my Alfa adapter. I tried countless fixes, but thanks to the Kali Discord community, I discovered the root of the issue. Despite setting up the NetHunter version with a custom, supported kernel, the installation process hadn’t actually deployed that kernel—causing problems with modules and firmware for external devices.
It took me another couple of days of trial and error, but I finally found a workaround. By flashing the same NetHunter image on top of the existing one, I effectively skipped the full installation process and deployed the kernel only. From that moment on, I had the full version of NetHunter running, along with a fully functioning Wi-Fi adapter.
Interestingly, no one else I spoke to had encountered this issue on their phones, but no one else had a OnePlus 7T either. It’s likely this problem is specific to the firmware on this model.
RTL-SDR
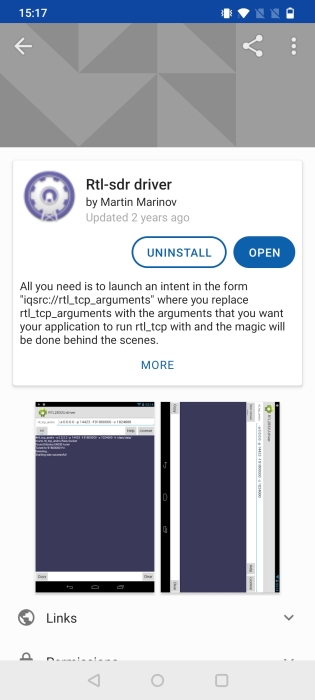
To make it work, I needed to install drivers called SDR Drivers. These are available in the NetHunter Store, making it a simple process—just click Install and you’re done. Or so I thought. Unfortunately, the drivers from the NetHunter Store (image below on the left hand side) didn’t work and appeared quite outdated.
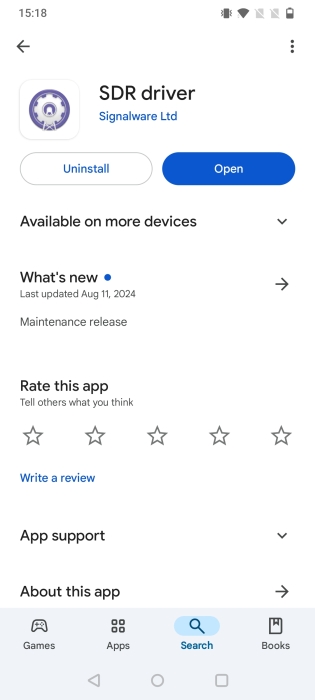
I then noticed a newer version of the drivers available in the Google Play Store (image below on the right hand side). I downloaded and installed that version instead. During the installation, you’ll be prompted to confirm if you want to overwrite the existing version with the one from the Play Store—just hit Yes.
Things to Try Next
RFID
One thing I haven’t tried yet is connecting a Proxmark3 to the phone to see if it works. I might give that a shot next.